


How do you roll a cross joint?

Er sieht nicht nur unfassbar verrückt und ein klein wenig heilig aus, nein, er ermöglicht dem Konsumenten auch das Rauchen von 3 Standardjoints gleichzeitig. Der Kreuzjoint (auch cross joint genannt).
Wie man diese Rarität einfach nachbauen kann? Wir geben euch, eine Anleitung in 5 einfachen Schritten.
Was wir brauchen:
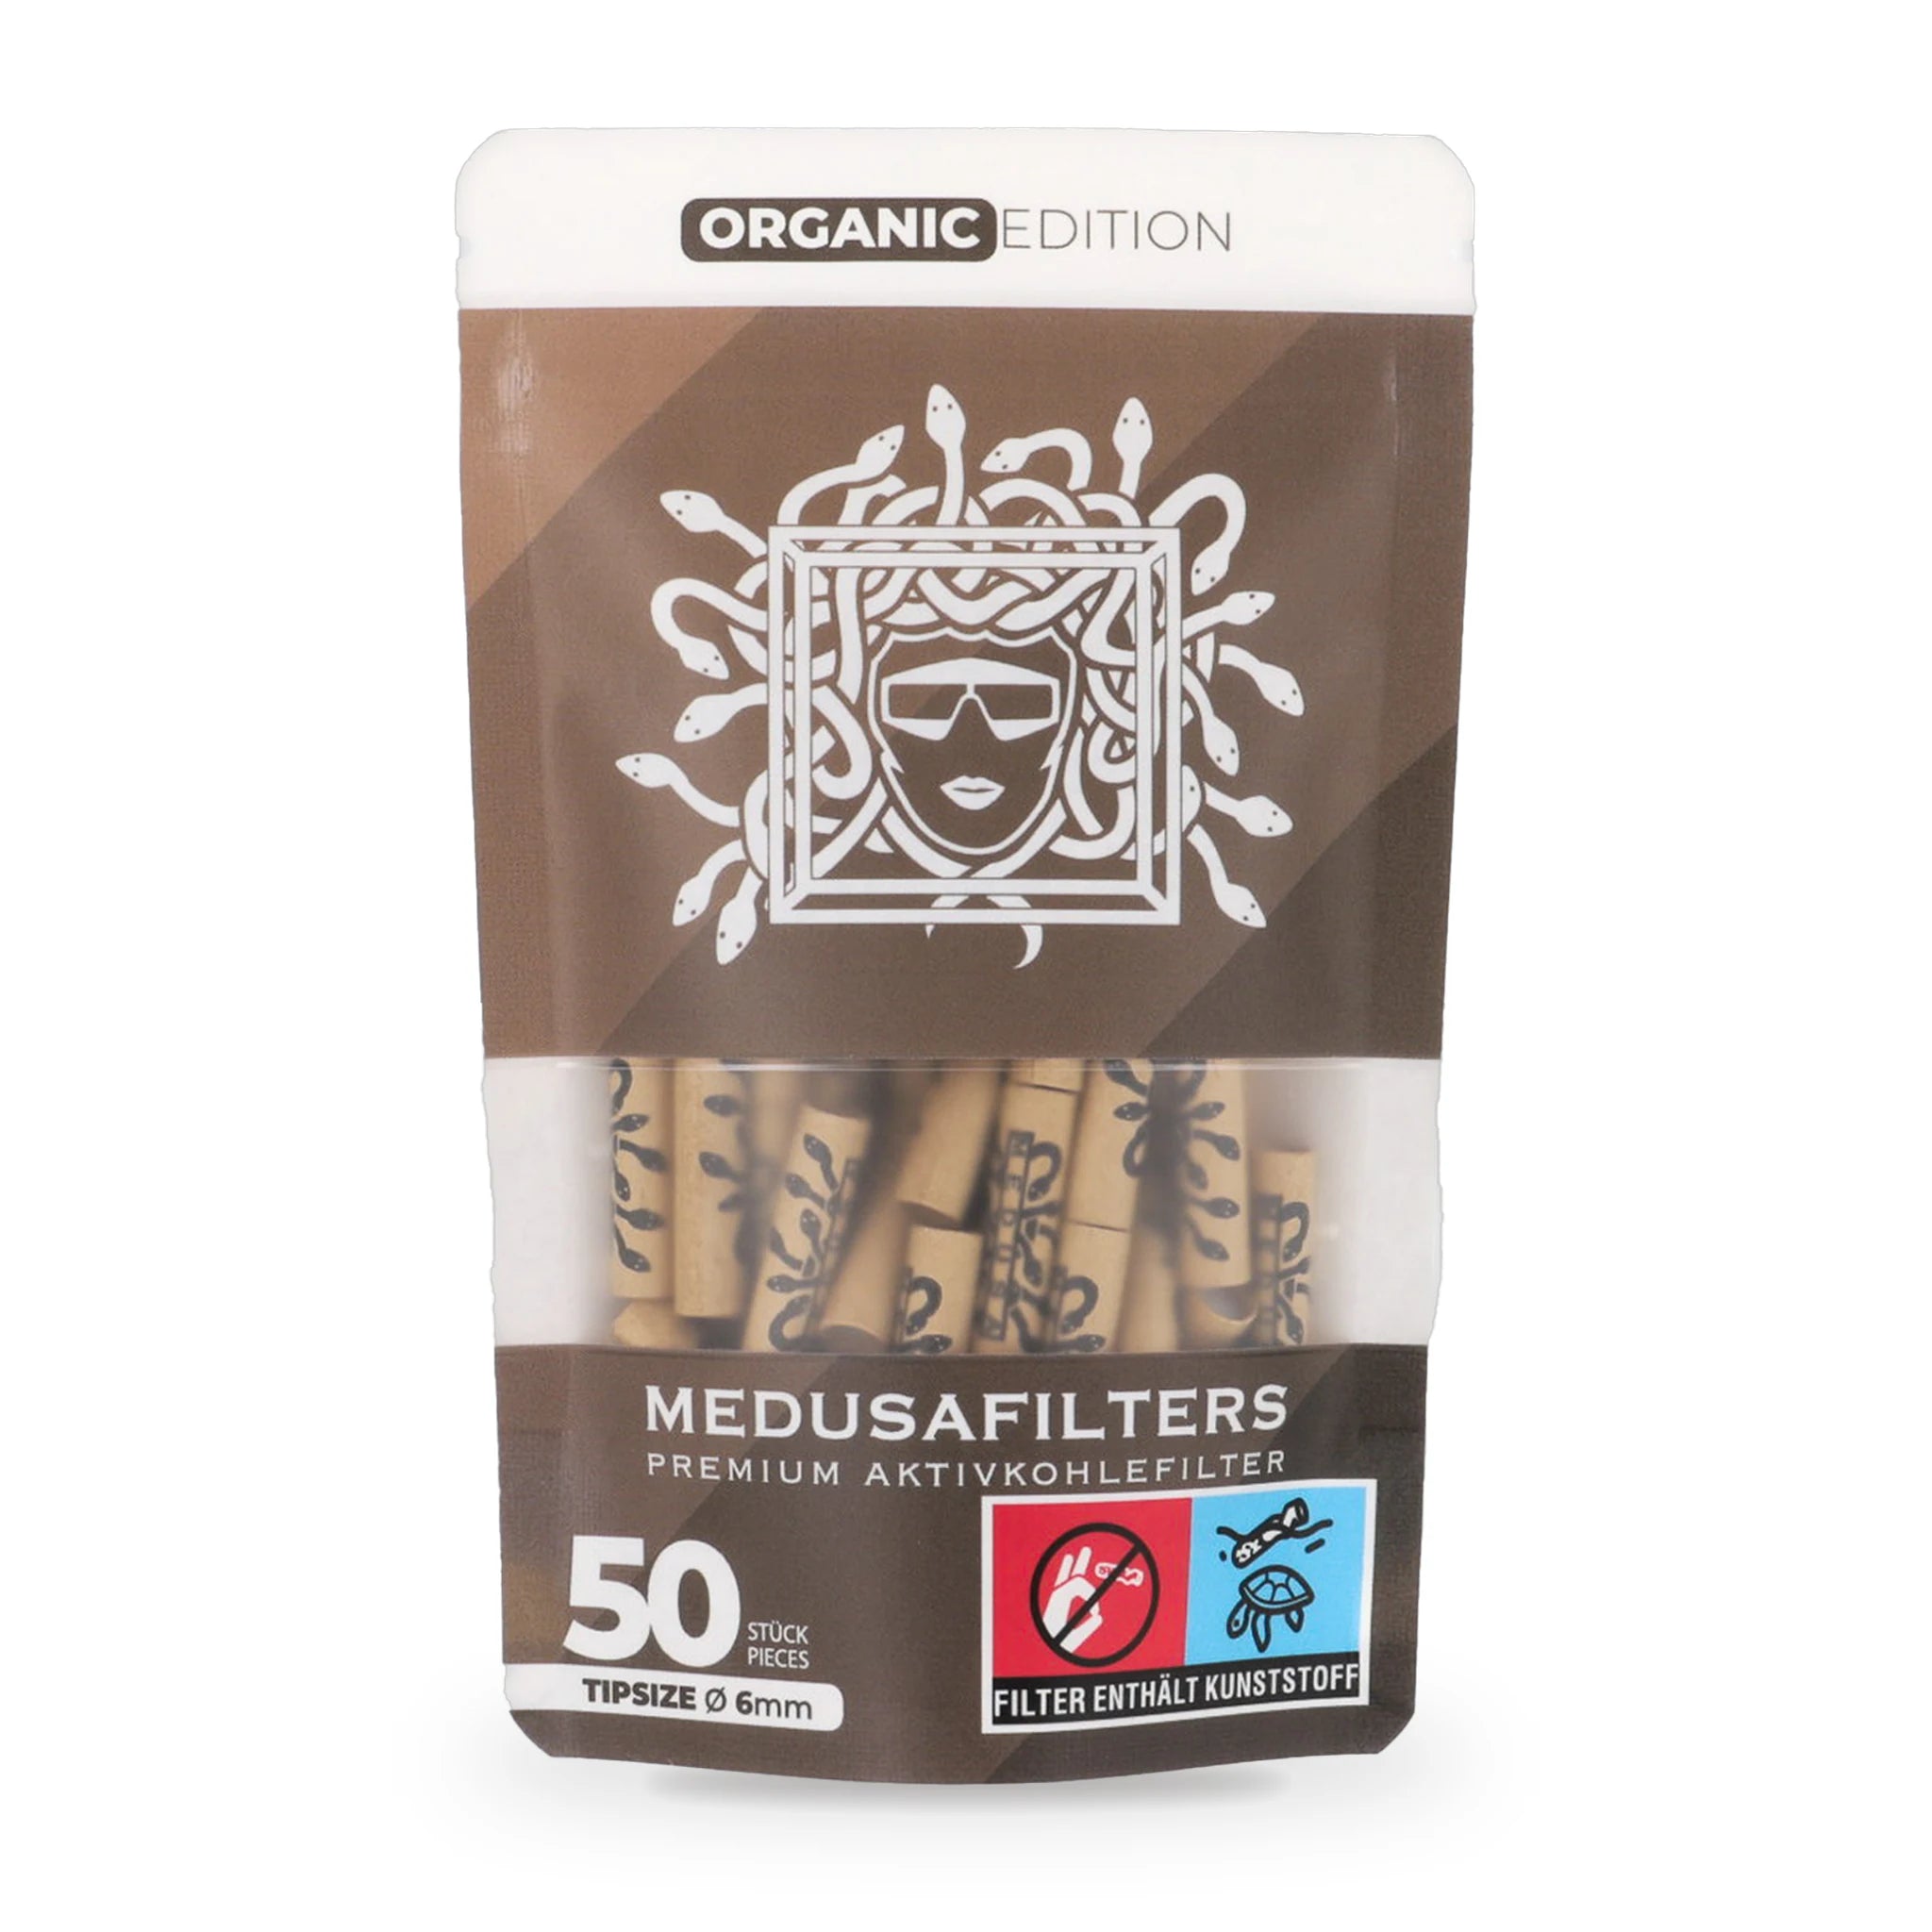
⇨ Einen Medusafilter
⇨ Mindestens vier Blättchen (besser noch Endless-Papes)
⇨ Ausreichend, klein gemachtes Cannabis (2-3 Gramm sollten reichen)
⇨ Ein Zahnstocher oder etwas Vergleichbares


Schritt 1: Schaffe die Grundlage
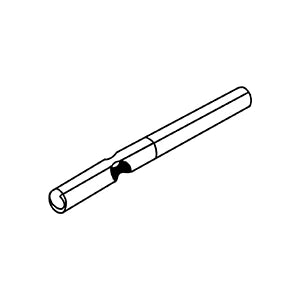
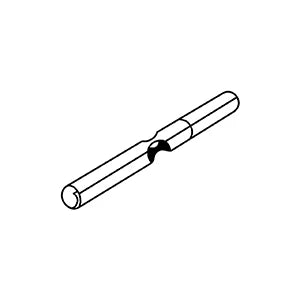
Um einen Kreuzjoint wickeln zu können, brauchen wir zunächst zwei verschieden große Joints. Diese bilden die Grundlage für unser späteres Kreuz. Es wichtig zu beachten, dass wir einen kleinen Joint (oberes Kreuz) und einen großen Joint (als Säule) benötigen - Verwende daher ein doppeltes Longpape (oder Endless-Pape) für diesen. Wenn möglich sollte der Große auch etwas konisch geformt sein, das erleichtert später das Zusammenführen. Wichtig dabei zu erwähnen ist außerdem, dass der kleine Joint keine Filter zusätzlich benötigt - es reicht, wenn ihr ihn auf beiden Seiten zudrückt bzw. verdreht. Beim Großen könnt ihr einseitig gerne einen Tip oder besser, einen Aktivkohlefilter einbauen.
Merke: Desto unterschiedlicher die beiden Joints in der Größe sind, desto besser ist es später, die beiden zu kombinieren. Probier dich da gerne ein wenig aus, du wirst schnell verstanden haben, wieso das so ist.
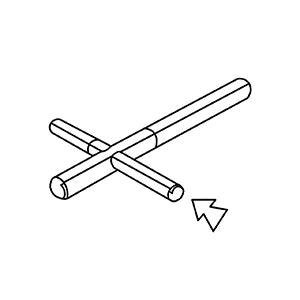
Schritt 2: Die beeindruckende Hochzeit
Ihr seid sicher gespannt wie es weitergeht, deswegen spanne ich euch nicht weiter auf die Folter. Es kommt behutsam zur Kreuzung! Also fast. Zunächst braucht ihr euren Zahnstocher oder einen anderen spitzen Gegenstand (Nadel, Büroklammer). Hiermit stecht ihr nun in etwa auf drei Viertel der Höhe des großen Joints ein Loch ins Papier (komplett durch). Mit gleichmäßig, kreisenden Bewegungen ist es im weiteren Verlauf eure Aufgabe das Loch auf Größe des Durchmessers des kleinen Joints auszuweiten. Es ist hilfreich hier locker zu bleiben und bedarf eventuell ein wenig Übung. Geschafft? Respekt! Steck den kleinen Joint allerdings noch nicht hinein. Stattdessen schnell weiter zu Schritt 3.
Schritt 3: Der oft vergessene Schritt
Denn bevor du die beiden Joints jetzt kreuzen kannst, fehlt noch ein winziges, aber ausschlaggebendes Detail. Nehme dir den dünnen Joint zur Brust. Visiere die Mitte an und steche auch hier mit deinem spitzen Gegenstand einmal vollständig bis auf die andere Seite durch. Warum? Damit garantierst du später einen guten Durchzug, bzw. vermeidest, dass der Rauch hauptsächlich im Abendrot verfliegt. Sei aber auch hier extrem vorsichtig, ansonsten könnten die Enden jeweils aufbrechen.
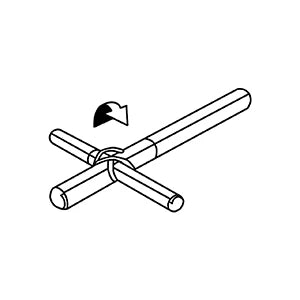
Schritt 4: Jetzt aber wirklich
Time for some magic!
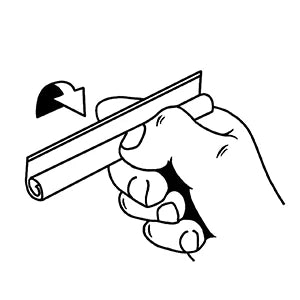
Der Moment, auf den wir alle gewartet haben - wir führen die zwei Joints endlich zusammen. Setze dazu den kleinen Joint so an, dass die Lochung vertikal zum Basisjoint ausgerichtet ist. Hier muss später die Luft durchströmen können. Du solltest dabei besonders darauf achten, nicht einfach zu drücken, sondern stattdessen leicht drehende Bewegungen zu machen, um ihn möglichst unbeschädigt durchgesteckt zu bekommen.
Schritt 5: Der Feinschliff
Du fragst dich, was noch fehlt? Ich sage - nicht mehr viel! Schnapp dir final zwei zusätzliche Longpapes und mach dir deren Klebestreifen zu nutzen, indem du sie abschneidest. Sie dienen dir später als Isolierung. Wickel sie um beide Enden, also um die Austrittsstellen des kleineren, aus dem Großen, um diese zu versiegeln. Sei auch hier nochmal besonders sanft, geduldig - es ist ein bedeutender Schritt hin zum perfekten Raucherlebnis.
Nun bist du endgültig bereit deinen ganzen Freundeskreis, mit deinem geschaffenen Crossjoint zu beeindrucken. Lecker und groß genug für eine ganze Fußballmannschaft - das ist er. Der Kreuz Joint.
Übrigens, wirst du deine Freunde tatsächlich zum Genuss rufen müssen, immerhin benötigt es im Idealfall 3 Feuerzeuge, um ihn ordnungsgemäß anzuschmeißen. Ein frohes high sein.
Häufig gestellte Fragen zum Kreuz Joint
Für einen Kreuzjoint sind einige spezifische Artikel notwendig. Zunächst benötigen Sie mindestens drei Blättchen, einen kleineren und einen größeren Joint, in denen Filtertips eingebaut sind, um den Luftzug des Joints zu verbessern und zu verhindern, dass Tabak oder Gras in Ihren Mund gelangt. Weiterhin benötigen Sie natürlich Gras. Die Menge kann variieren, je nachdem, wie stark Sie Ihren Joint machen möchten. Ein Grinder und ein spitzer Gegenstand wird (Nadel) ebenfalls benötigt.
Ein Kreuzjoint ist technisch anspruchsvoller als ein normaler Joint. Bei einem normalen Joint müssen Sie nur das Gras zerkleinern, es gleichmäßig auf einer der schmalen Seiten des Blättchens verteilen und dann den Joint drehen. Bei einem Kreuzjoint muss jedoch ein zusätzlicher, kleinerer Joint gedreht und dann durch den größeren Joint gestochen werden, um eine Form eines Kreuzes zu kreieren. Dies erfordert eine präzise Platzierung und genaues Drehen, damit der Luftstrom korrekt durch beide Joints fließt.
Die benötigte Menge an Gras hängt von der Größe des Joints und der Präferenz des Benutzers ab. Ein Kreuzjoint beinhaltet zwei getrennte Joints, die zusammen in Form eines Kreuzes kommen, daher benötigt er in der Regel mehr Gras als ein normaler Joint. Ein guter Anfang wäre etwa 1,0 bis 1,5 Gramm.
Der größere Joint für einen Kreuzjoint wird normalerweise wie ein normaler Joint gerollt. Der zweitgrößte Joint sollte jedoch dünner sein. Nach dem Rollen des zwei Joints sollte der größere einen festen, mittleren Bereich haben, durch den der kleinere Joint gestochen werden kann. Achten Sie darauf, den kleineren Joint vorsichtig durch den größeren zu schieben, um einen Riss im Papier zu vermeiden.