

7 easy steps to the perfect joint

Definition eines perfekten Joints: Die Kunst des Rollens
Das Drehen eines Joints ist inzwischen zu einer wahren Kunstform geworden! Ein konischer Verlauf ist hierbei ebenso von entscheidender Bedeutung, wie der Inhalt selbst. Gut und gleichmäßig gefüllt sollte er sein, denn der ideale Joint brennt gleichmäßig ab, hat eine schöne Struktur (Mischverhältnis zwischen Tabak und Hanf) und lässt sich wunderbar angenehm rauchen. Hierbei kann ein qualitativ hochwertiger Aktivkohlefilter für eine weitere Verbesserung des Raucherlebnisses sorgen. Ist er dazu noch faltenfrei wie ich zu meinen besten Tagen, dann steht deinem Genuss praktisch nichts mehr im Wege.
Es gibt ihn inzwischen in den verschiedensten Ausführungen - vom Klassikern bis hin zu sehr ausgefallenen Varianten, wie dem Tulpenjoint, Kreuzjoint und dem Windmühlenjoint. In diesem Blogbeitrag möchten wir uns allerdings mit dem alltagstauglichen "Standardjoint" beschäftigen und euch aufzeigen, wie einfach es sein kann den besten Joint zu drehen.
Es will gesagt sein, dass noch kein Baumeister vom Himmel gefallen ist, hierzu benötigt man etwas Praxis. Schnapp dir also dein Notizblock und auf geht´s:
Schritt 1: Vorbereitung ist die halbe Miete - Was du brauchst, um einen perfekten Joint zu rollen
Zunächst solltest du dir ein paar essentielle Dinge parat legen. Dazu gehört:
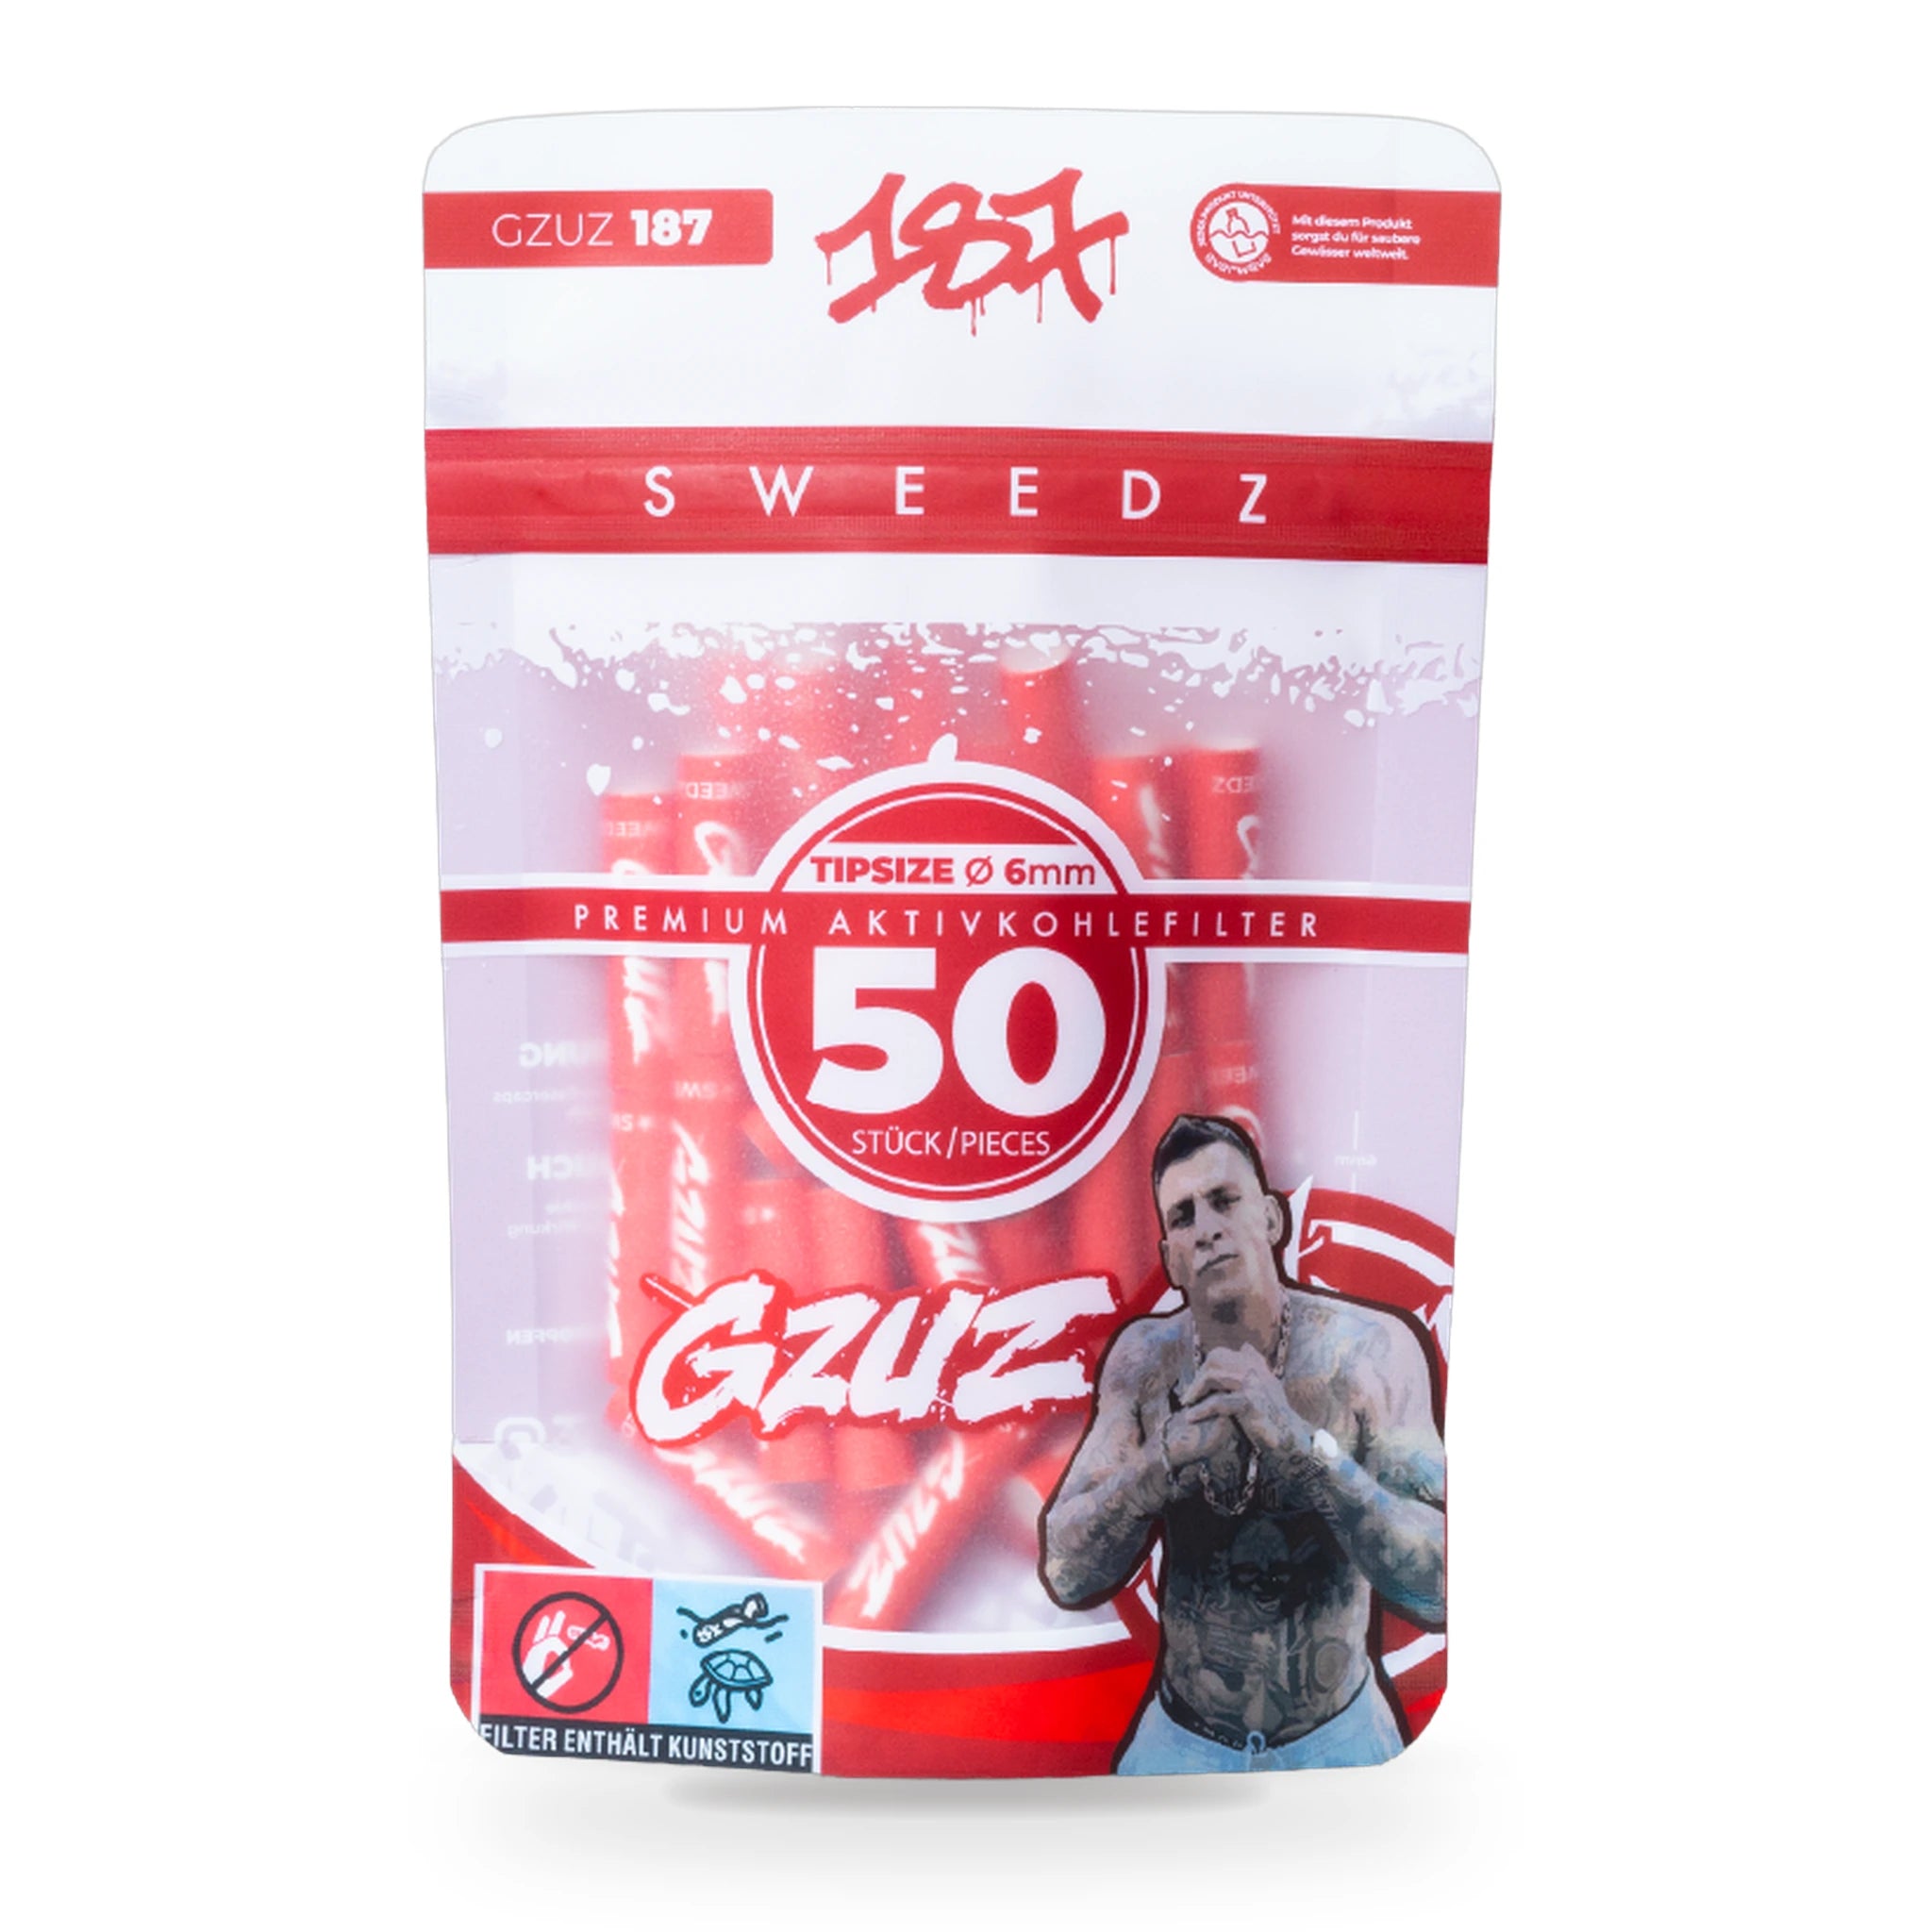
1. Das richtige Drehpapier
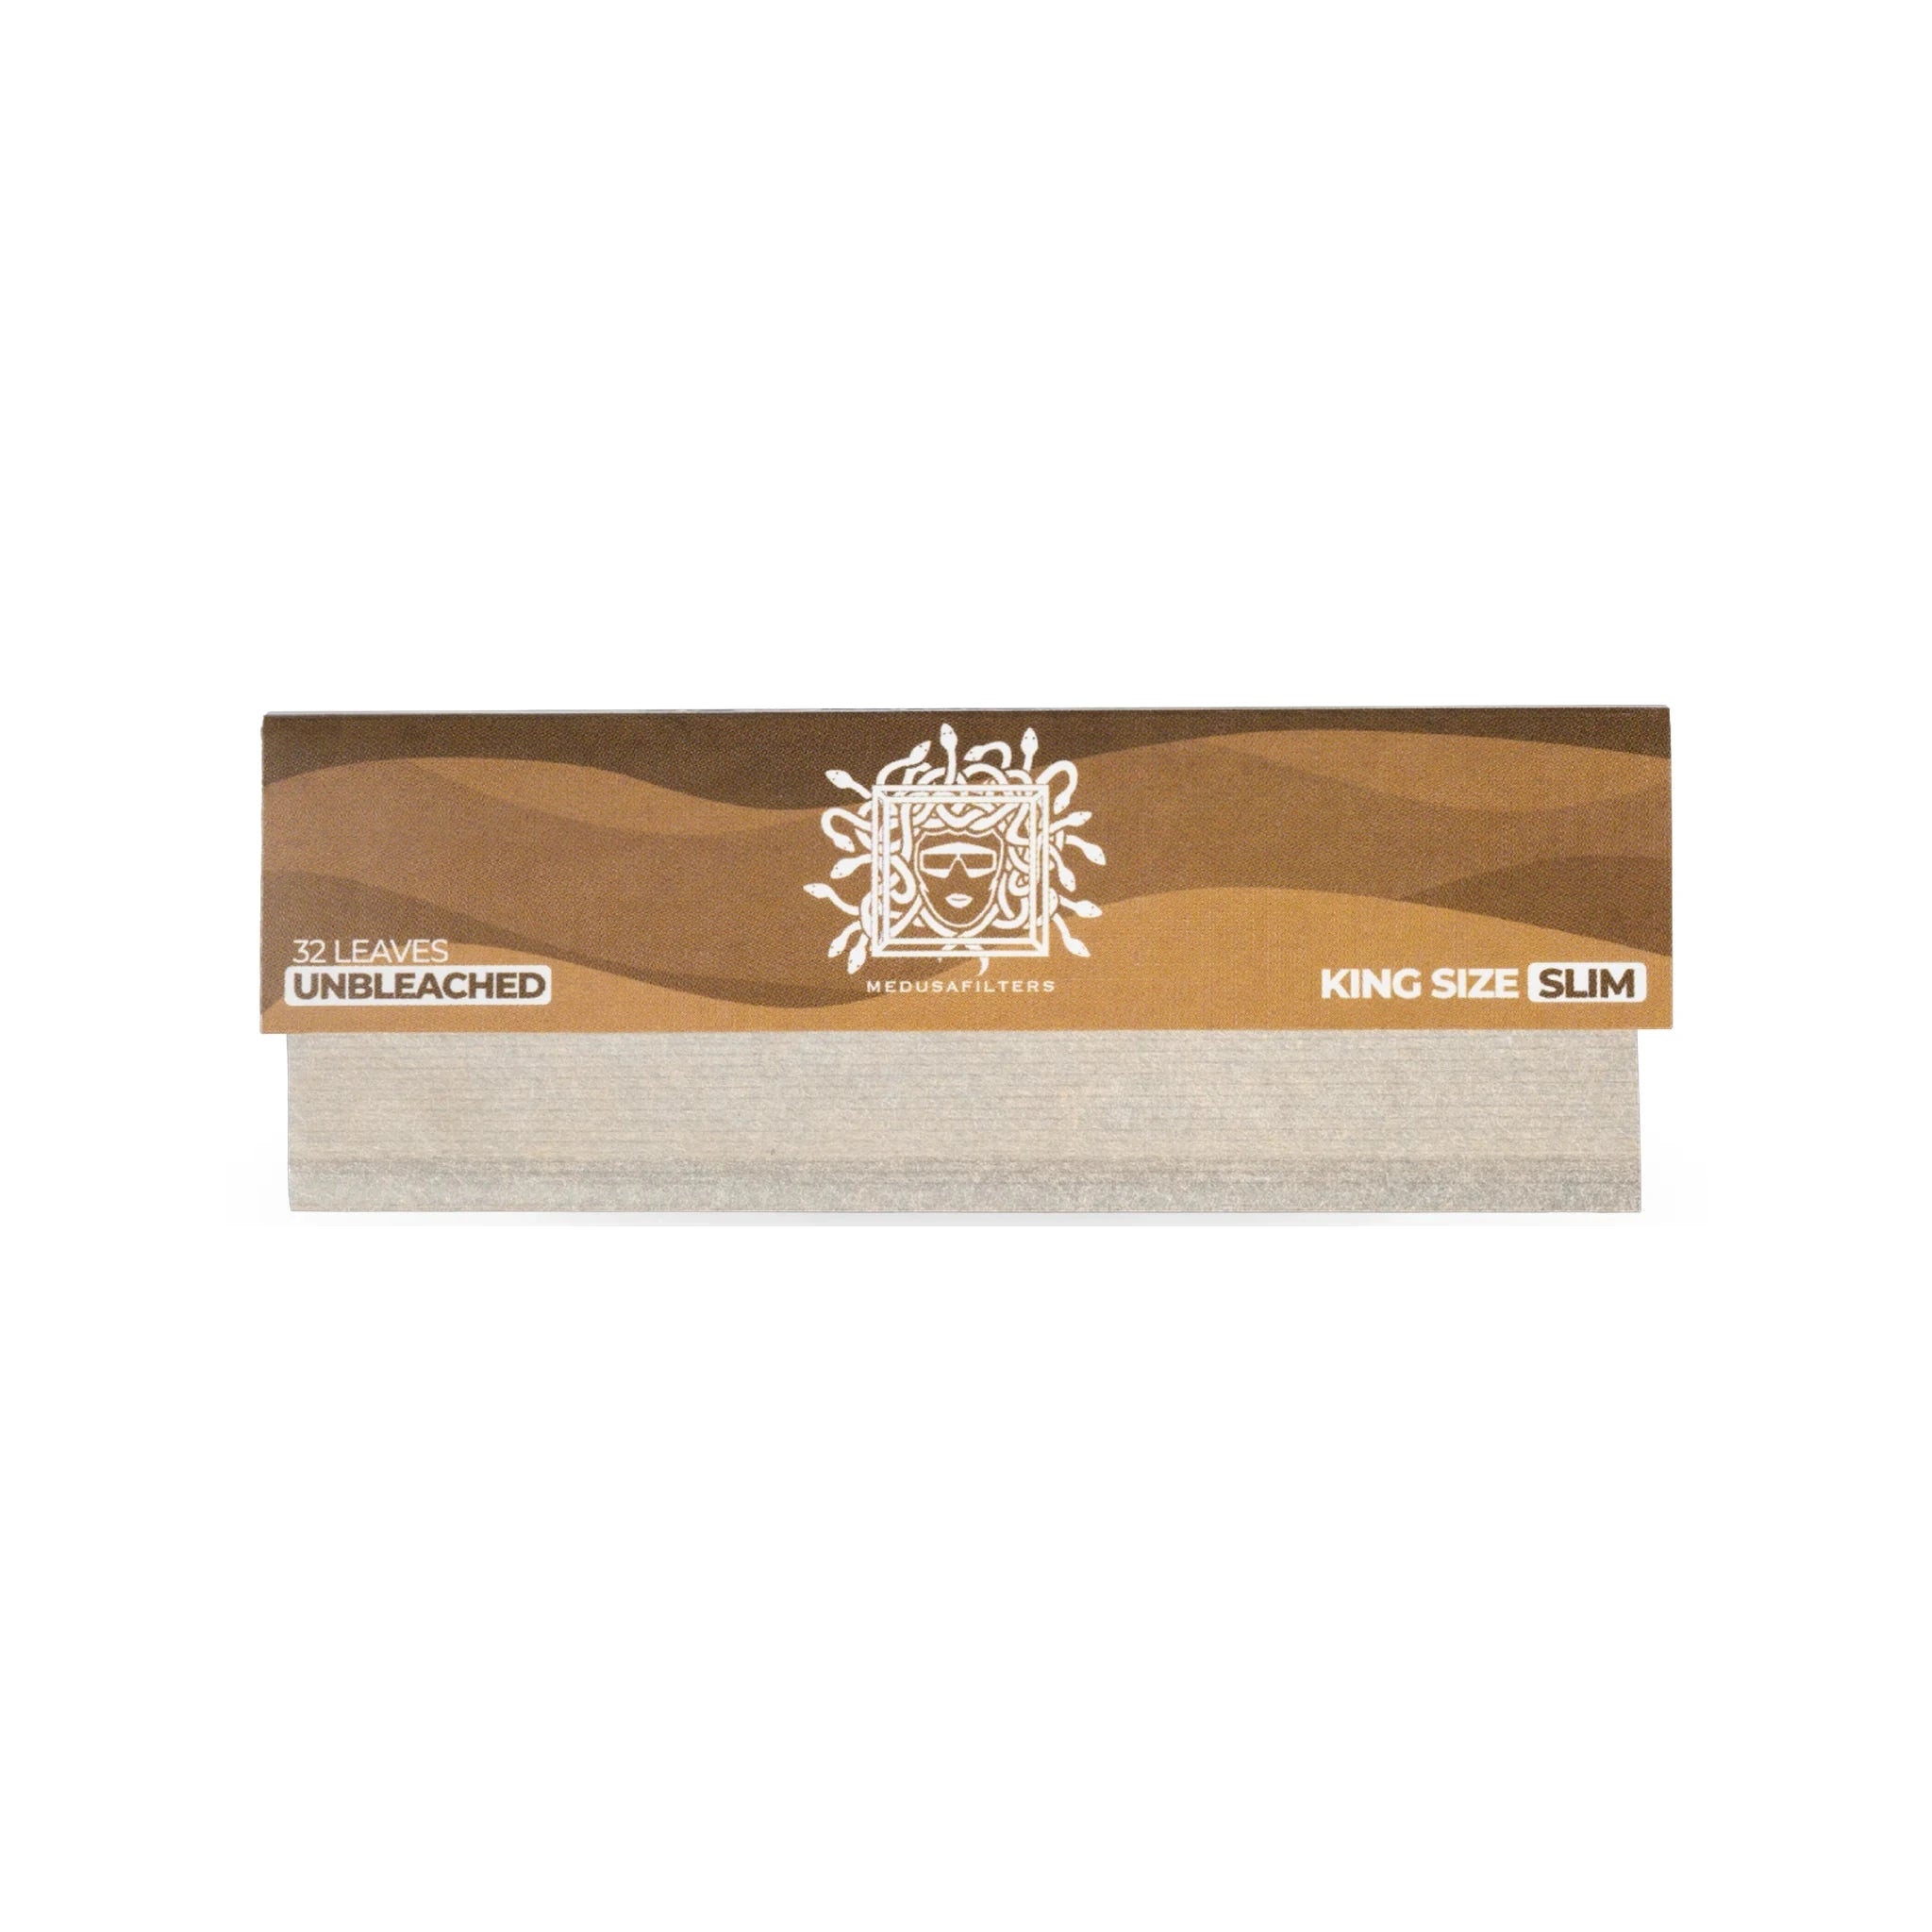
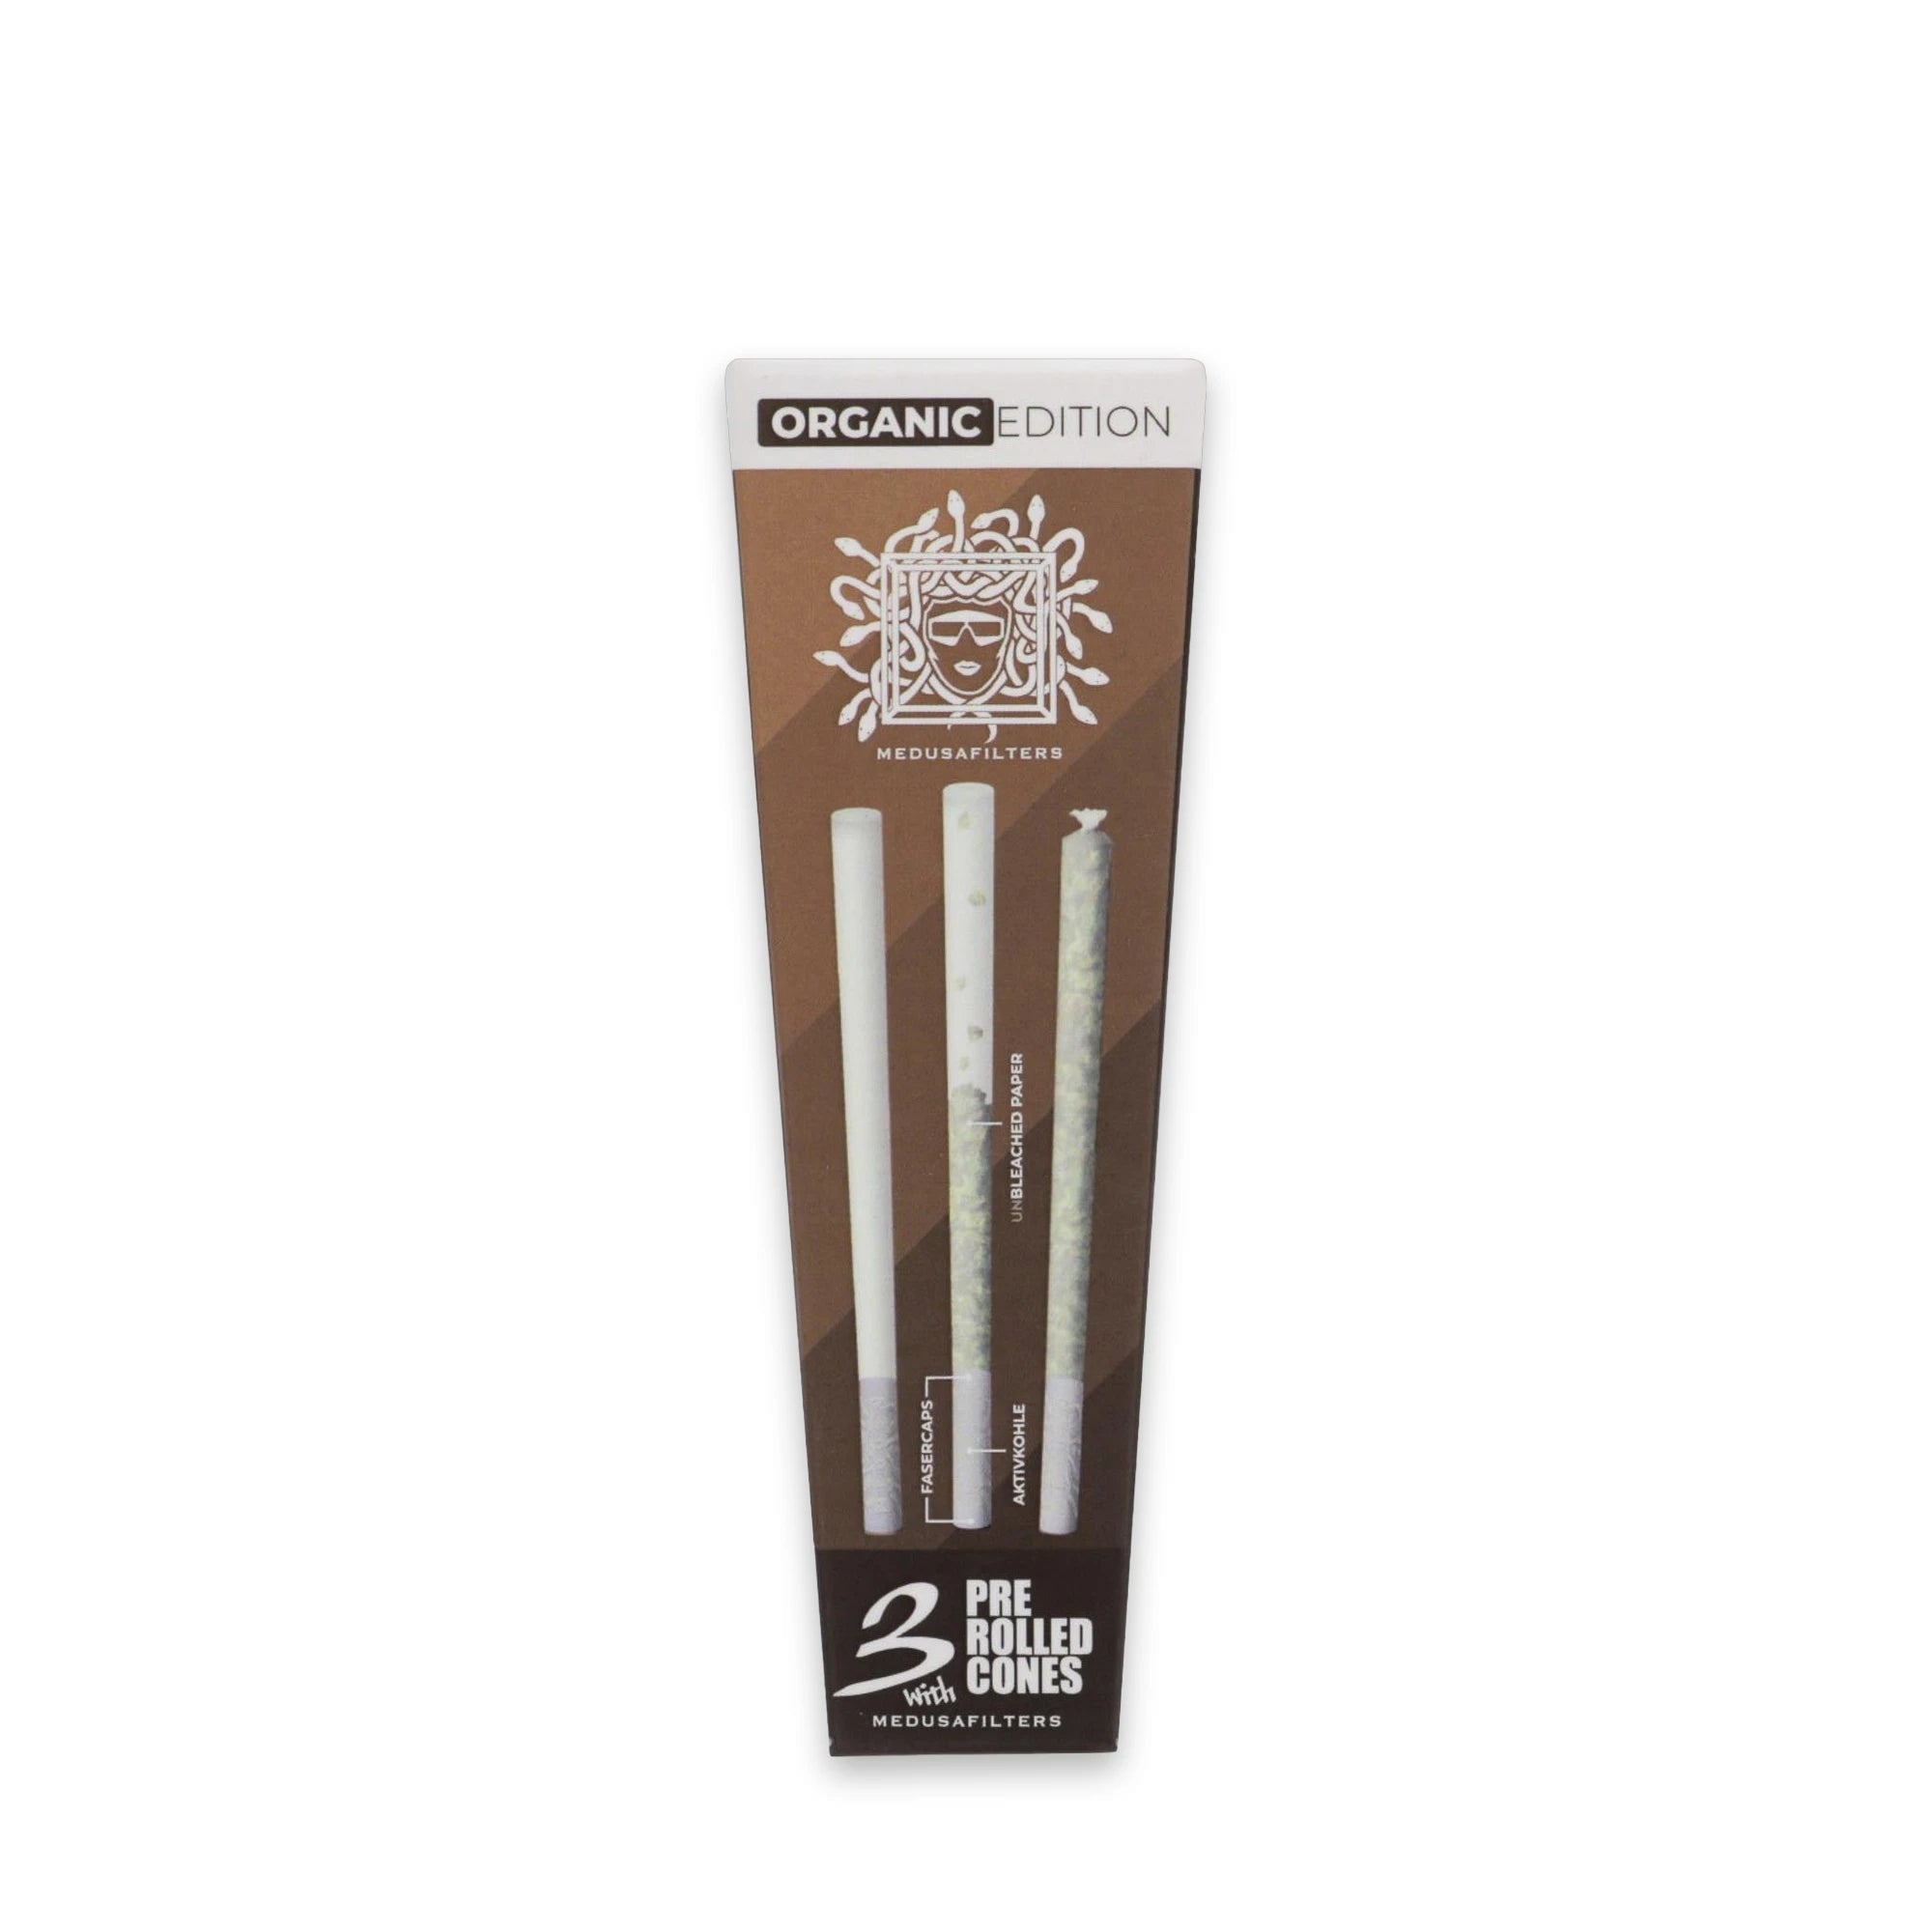
Bleached, unbleached, Kingsize, Queensize oder doch Endless-Paper. Was erstmal etwas überfordernd wirkt, ist letztendlich nur eine Frage der individuellen Vorliebe. Für Anfänger empfiehlt es sich jedoch, auf die Stärke des Papes zu achten. Merke: Desto dicker es ist, desto reißfester und einfacher ist am Anfang einen festen Joint zu rollen. Wir nutzen in dieser Anleitung "unbleached Kingsize-Papes" von Medusafilters.
2. Qualitative Cannabis Buds
Auf die inneren Werte kommt´s an. Nie war dieser Spruch wohl passender, denn um den perfekten Joint bauen zu können, braucht man selbstverständlich auch taugliche Buds. Ein Qualitätsmerkmal dabei ist ein frisch, fruchtiger Cannabis Geruch, sowie eine kräftig grüne Farbe. Dies zeugt von der richtigen Trocknung. Riecht er schon etwas modrig, solltest du eher die Finger davon lassen - Schimmel und weitere Verunreinigungen können gesundheitliche Risiken mit sich bringen. Auch bei der Stärke (THC Konzentration) gibt es große Unterschiede von Sorte zu Sorte. Hier lässt du dich im besten Fall von einer seriösen Quelle, wie deiner Apotheke oder deines Cannabisclubs beraten.
3. Einen Keramik- oder Metallgrinder
Auch hier gibt es weitreichende Unterschiede, welche sich auf deine späteren Mahlergebnisse auswirken. Von einem Plastikgrinder ist daher eher abzuraten. Dieser zerquetscht deine Blüten statt, sie sauber zu zerschneiden. Trichome bleiben dabei zum Teil im Grinder zurück und deine gewünschte Wirkung wird etwas minimiert. Investiere hier also lieber einmal in einen hochwertigen Grinder. Alternativ kannst du auch deine Finger oder eine Grindercard benutzen.
4. Einen hochwertigen Aktivkohlefilter
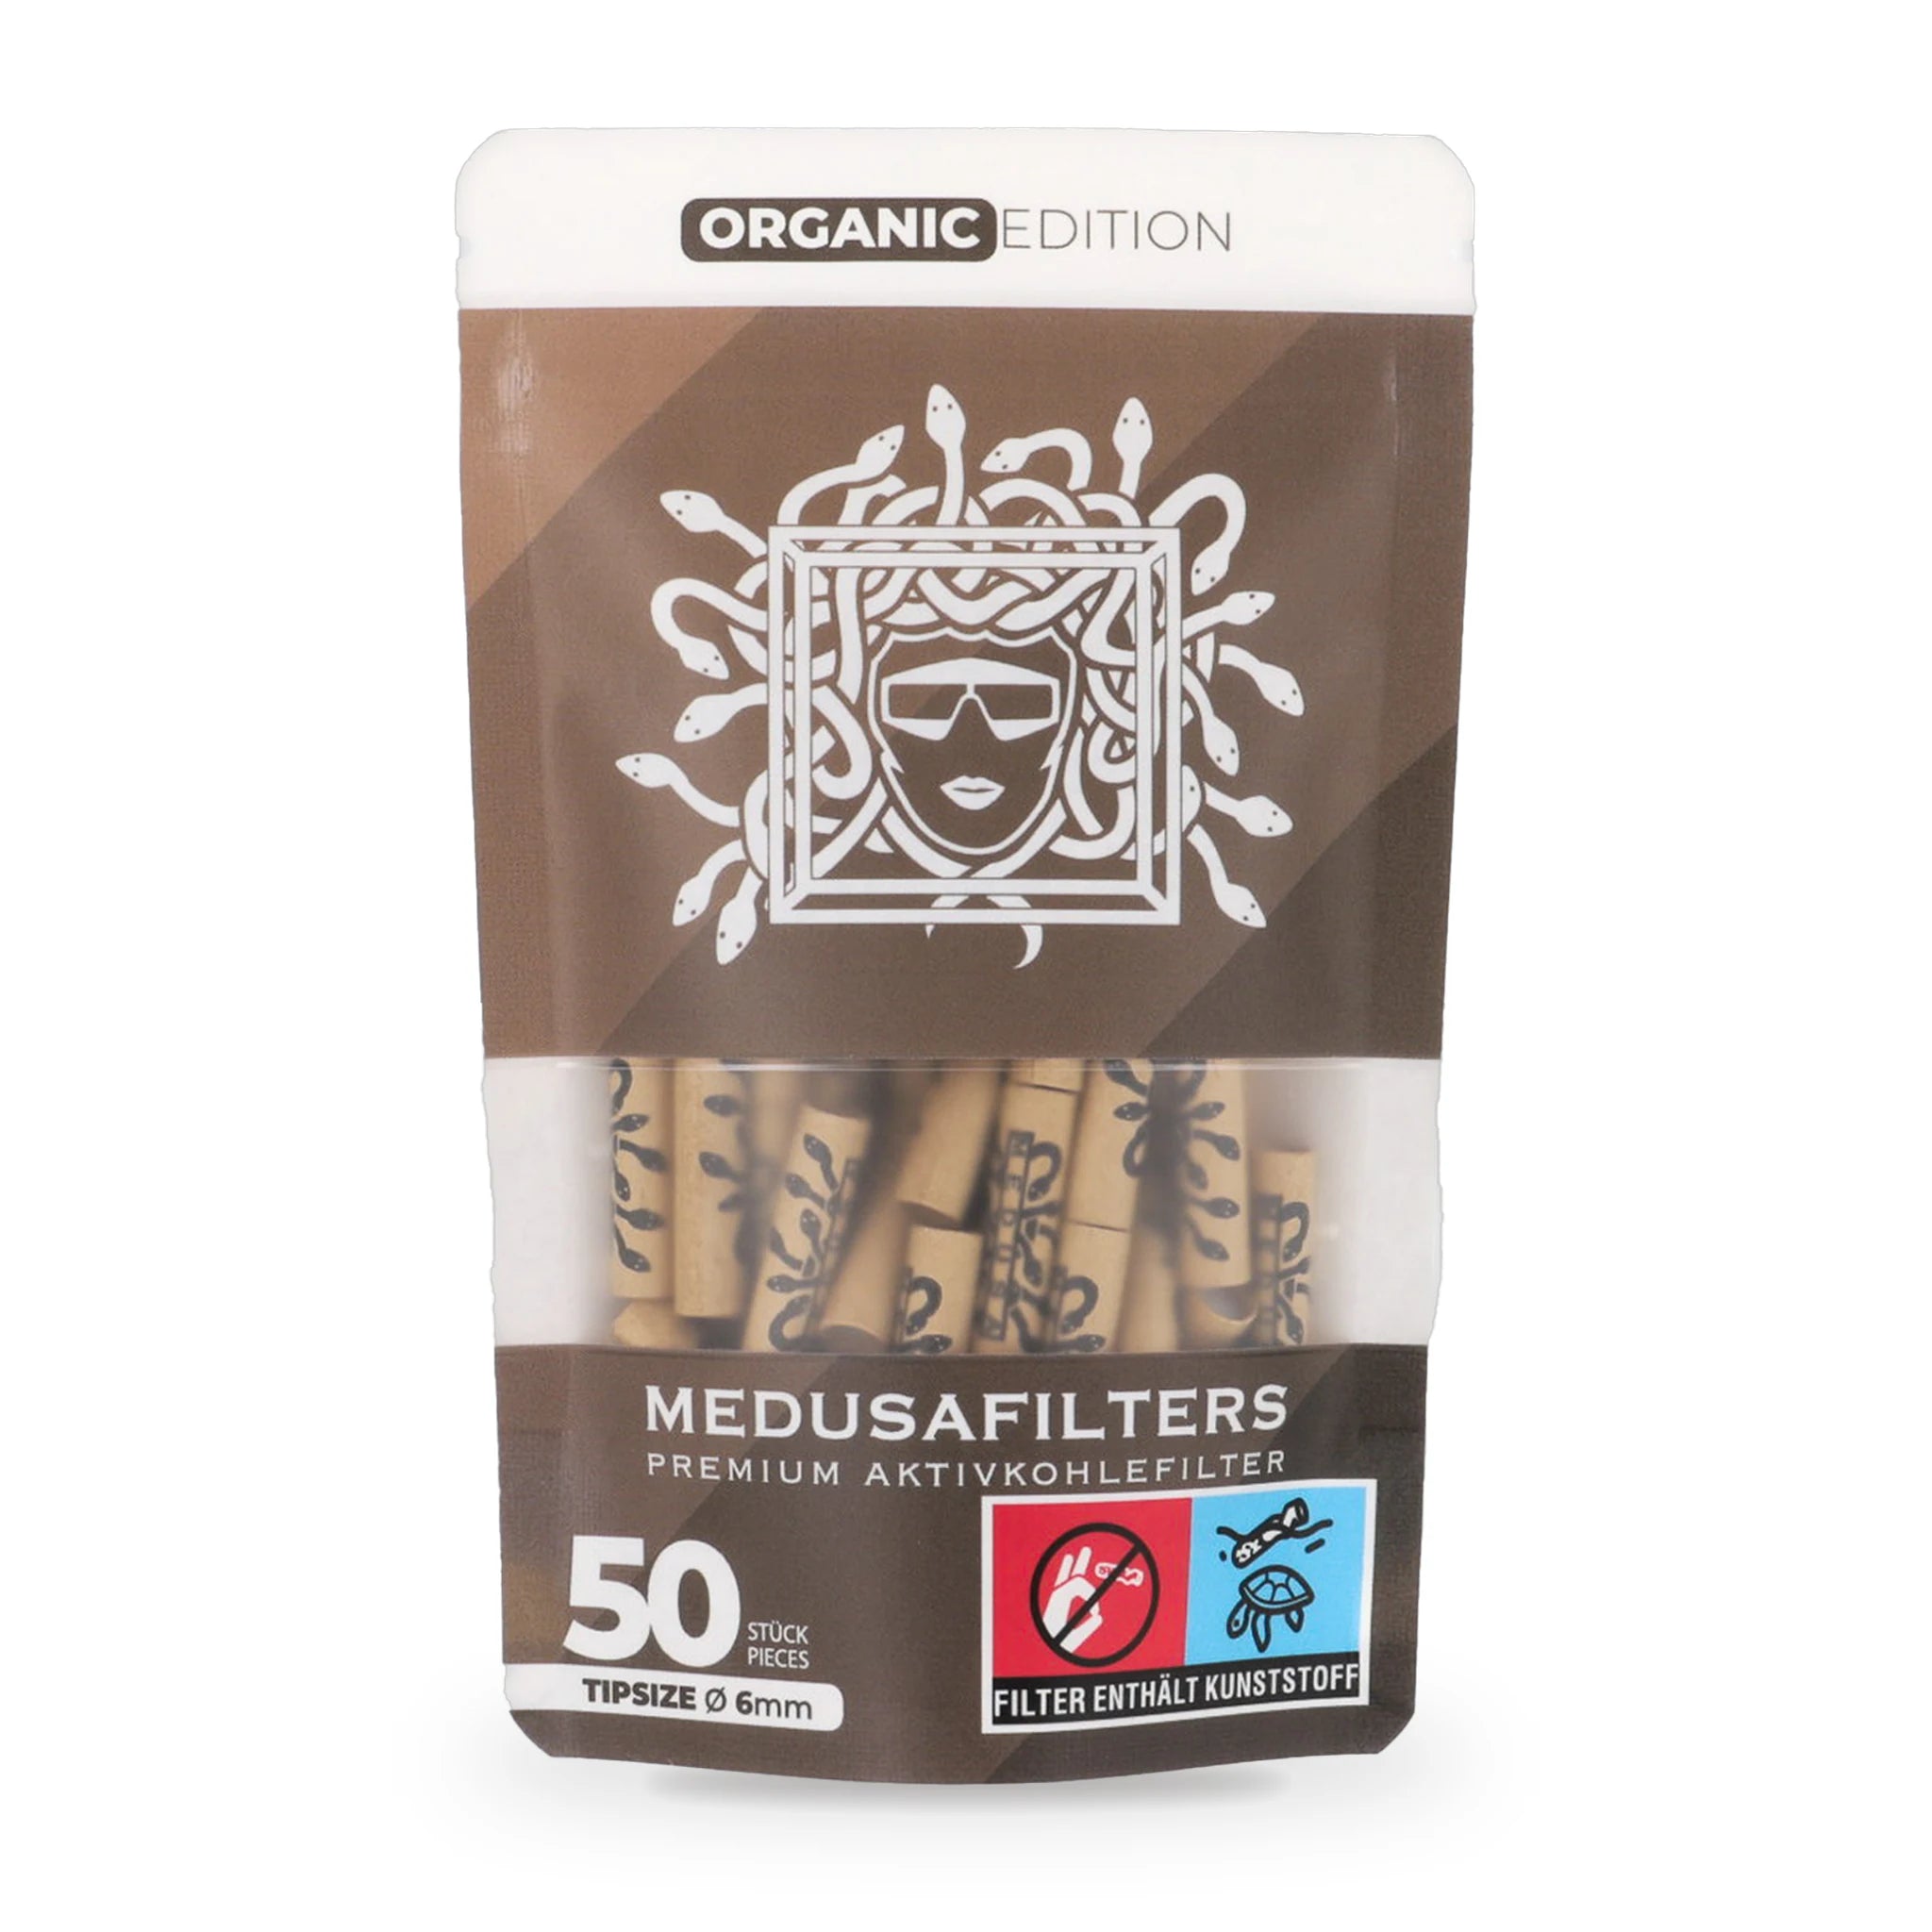
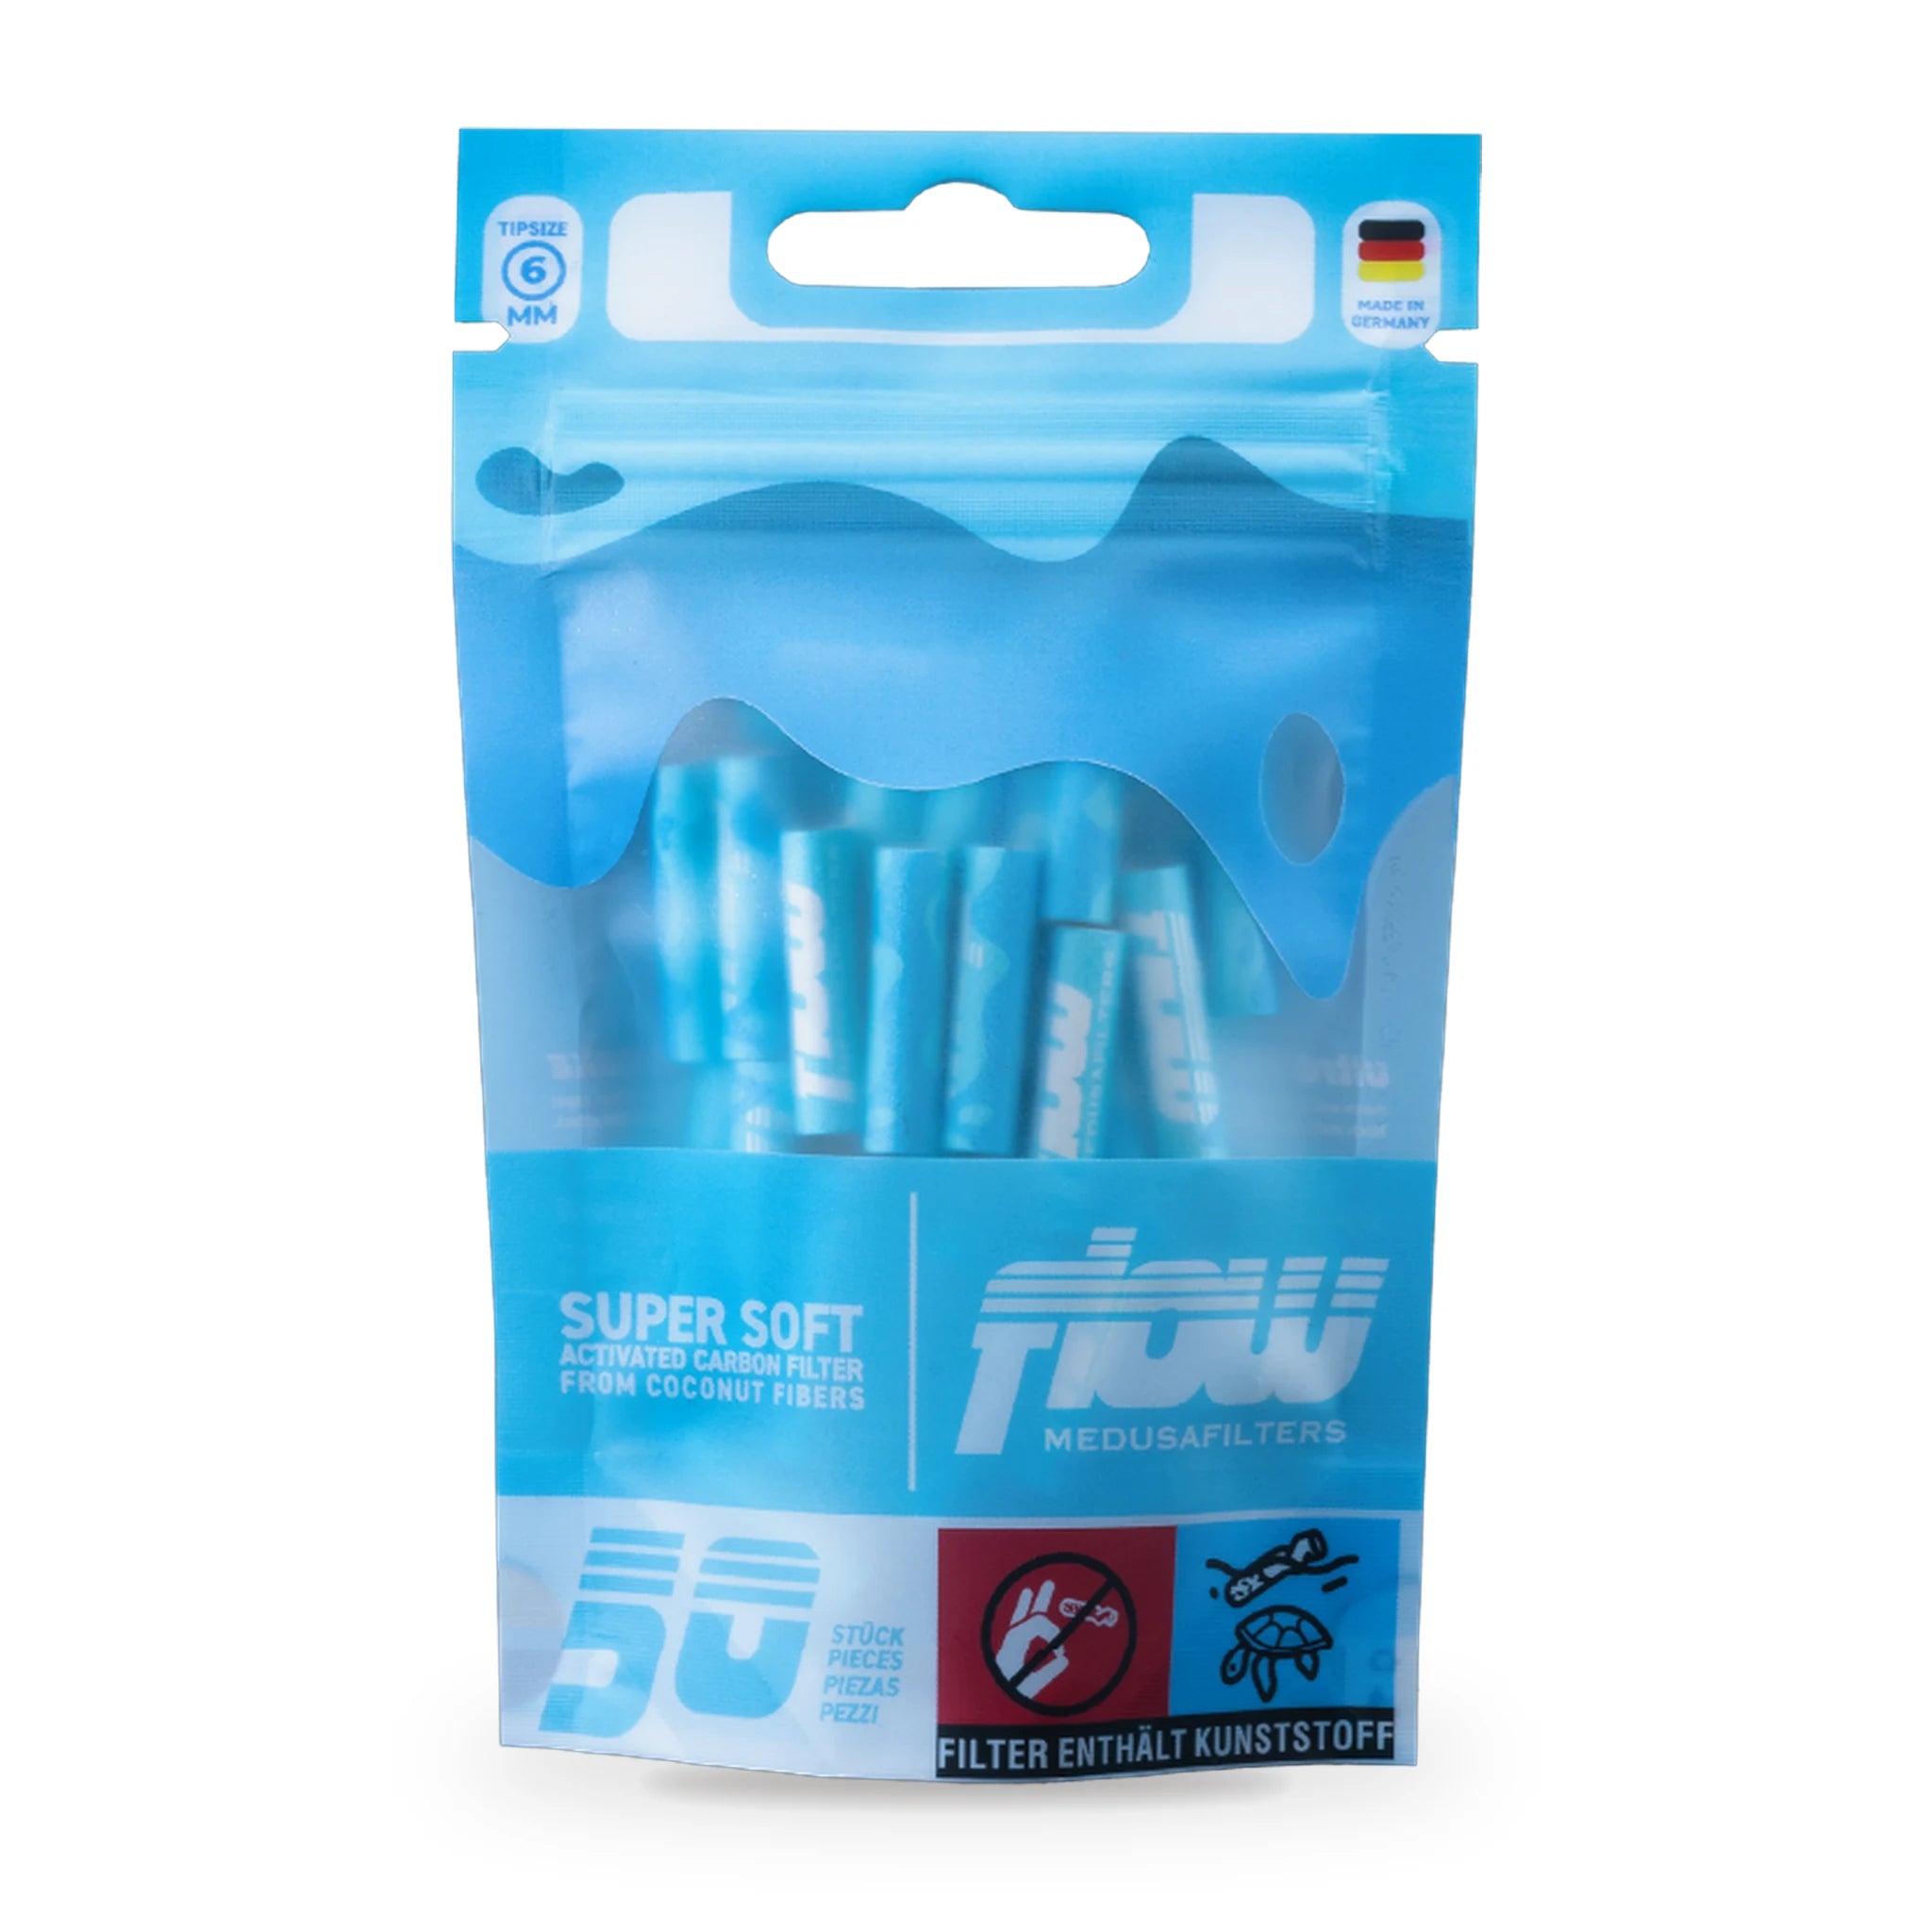
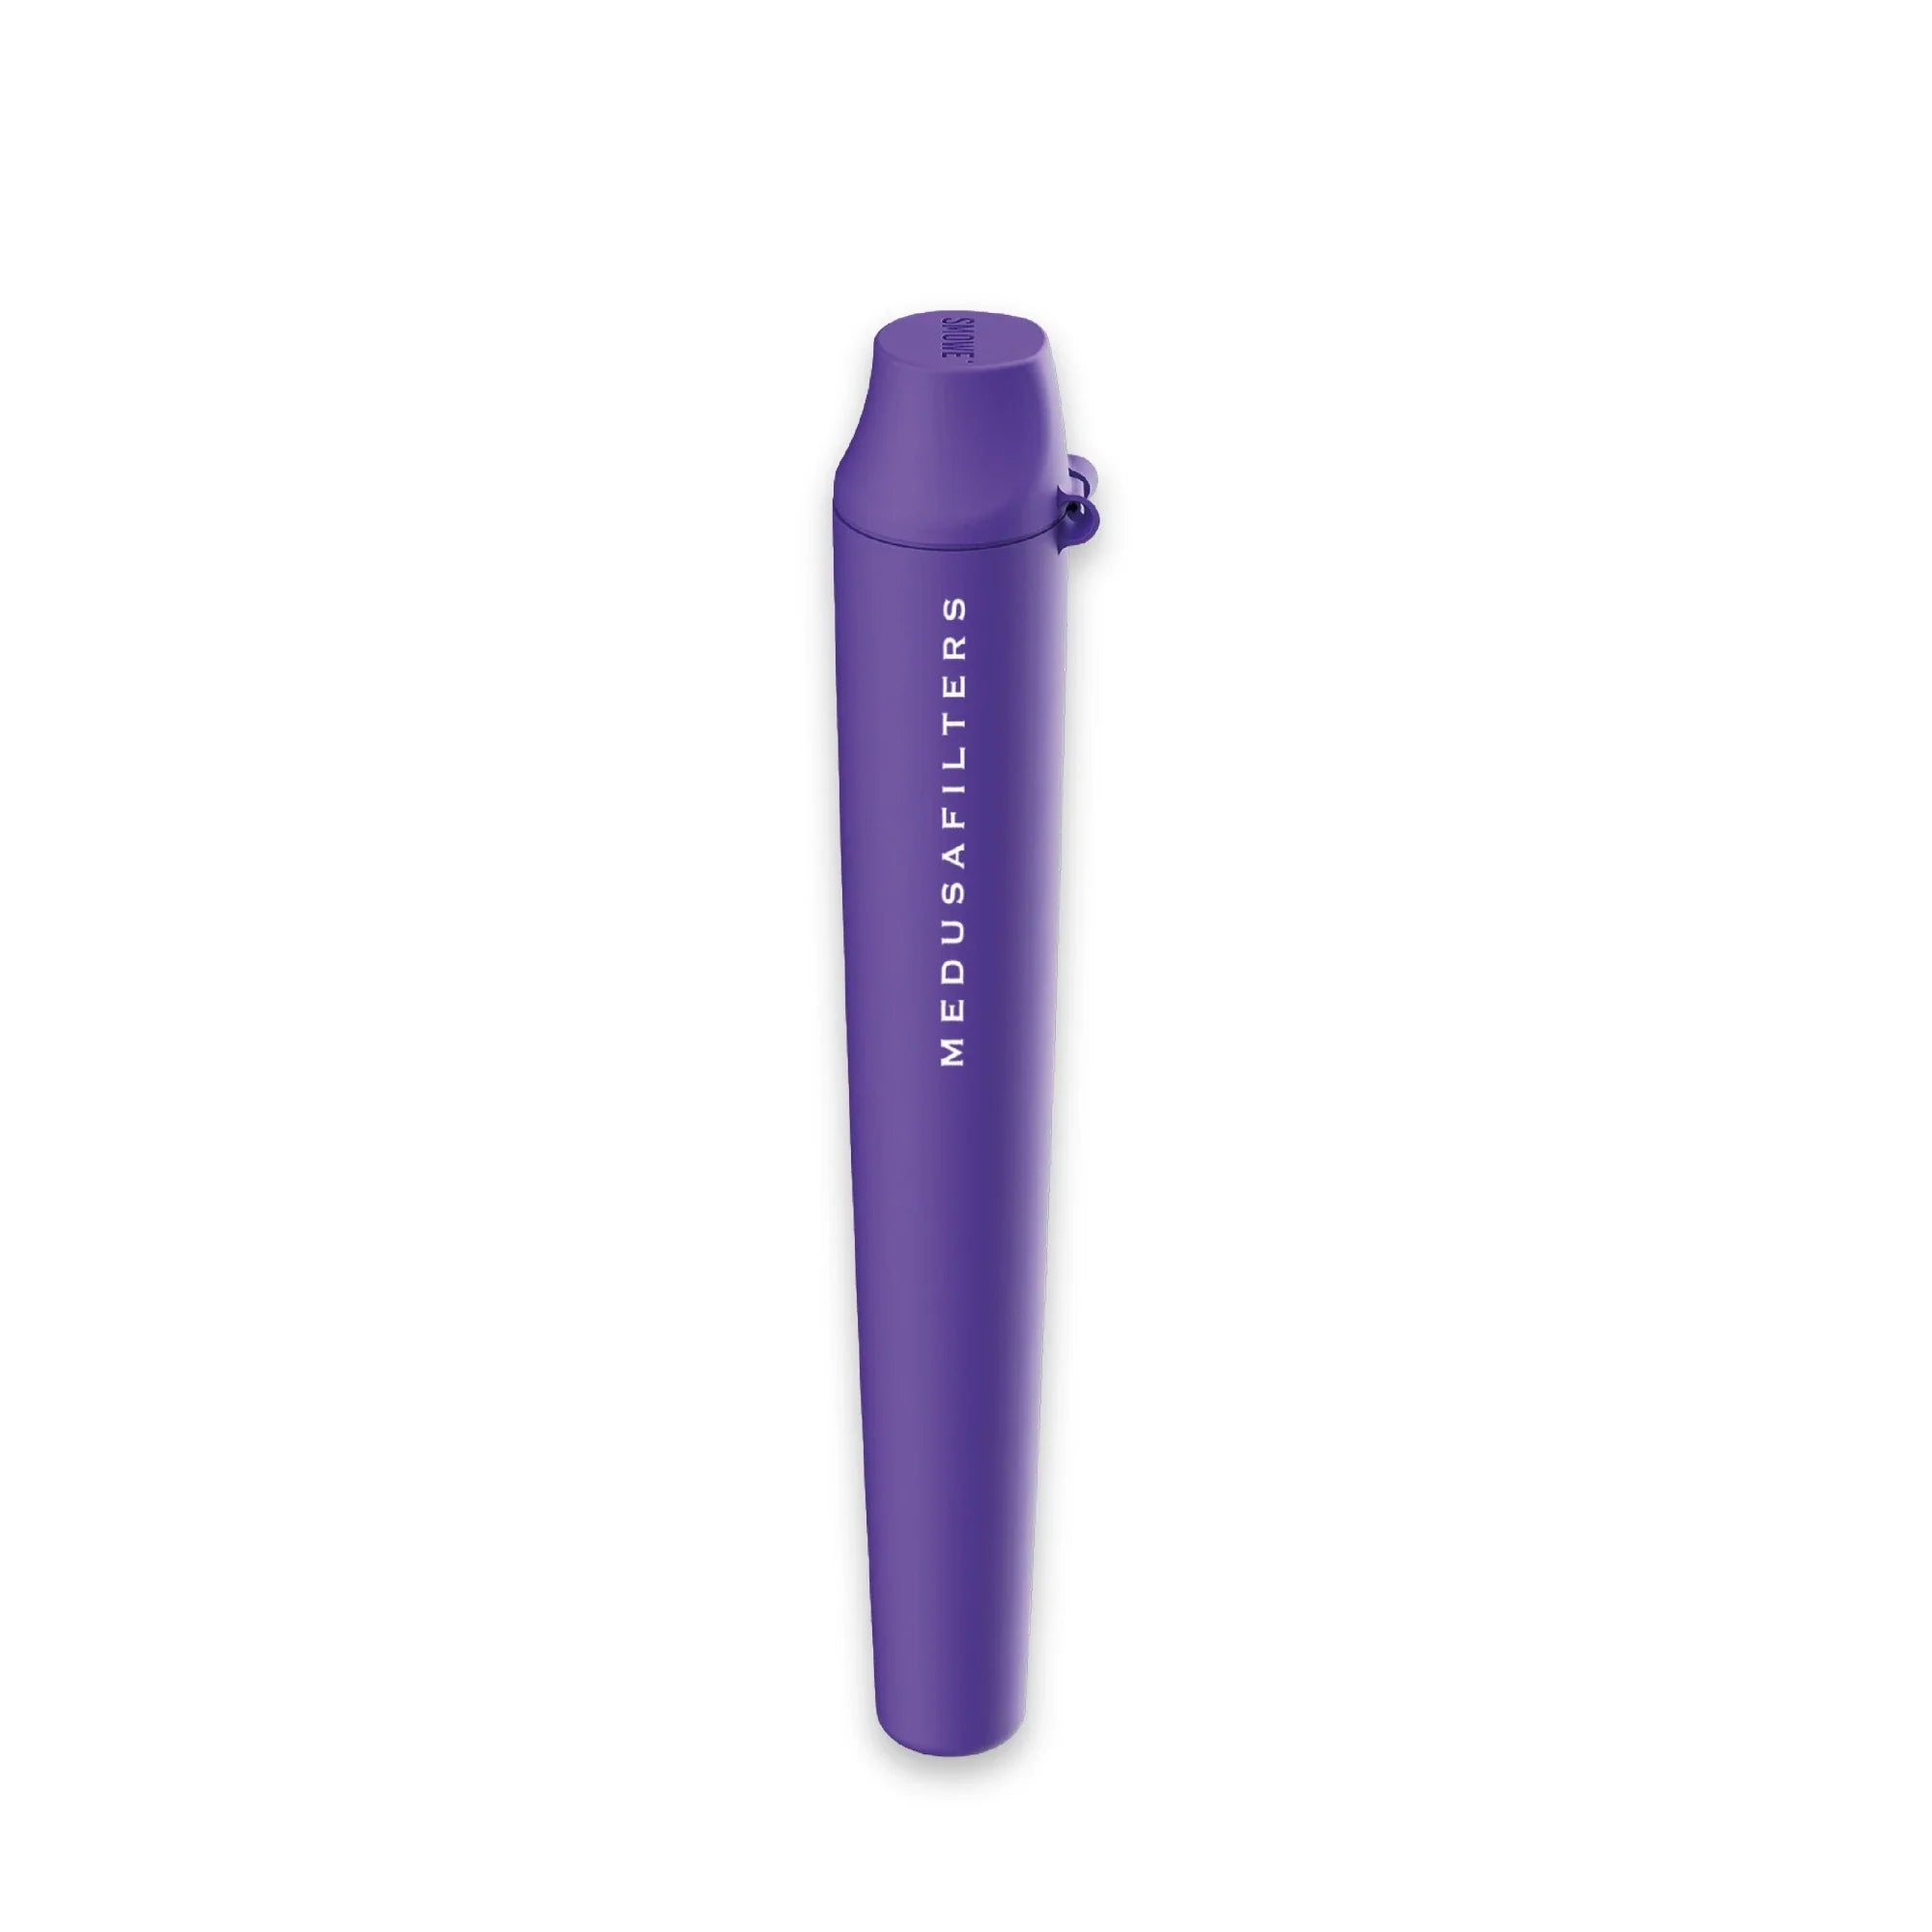
Dein späteres Raucherlebnis steht und fällt mit der richtigen Wahl deines Filters. Platziere diesen anstelle eines selbst gedrehten Tips, um dem den Unterschied zu erfahren. Schadstoff reduzierend, dauerhaft kühlenden Rauch, verstopfsicher und umweltfreundlich sind hier die Schlagworte, welche du bei deiner Beurteilung im Kopf haben solltest. Wenn wir schon von Perfektion sprechen, sollten deine Ansprüche an den Filter mindestens dieselben sein. Wir empfehlen den "Medusafilter", bei dem sämtliche Partikel und Schadstoffe aus dem Rauch gefiltert werden, bevor du ihn inhalierst.
Medusafilters
Schritt 2: Das Weed zerkleinern
Stellt zunächst sicher, dass euer Bud trocken genug ist, sonst wird das zerkleinern im Grinder zusätzlich erschwert. Nehmt euch dann etwa ein ganzes Gramm eures besten Cannabis und zerkleinert es ein bisschen mit den Händen. Dann werft ihr das Ganze in den Grinder, verschließt den Deckel und beginnt die Oberseite zu drehen (Stelle sicher, dass du den richtigen Grinder hast). Er wird das Weed so klein machen, dass es später perfekt in eure Papers passt. Und voila, fertig ist euer perfekt zerkleinertes Rauchgut.
Warum muss überhaupt gegrindet werden? Es sorgt für eine gleichmäßige Verbrennung und lässt dich den Geschmack und Geruch noch besser wahrnehmen. Also holst du so das meiste raus. Und wer will schon etwas verschwenden, richtig?
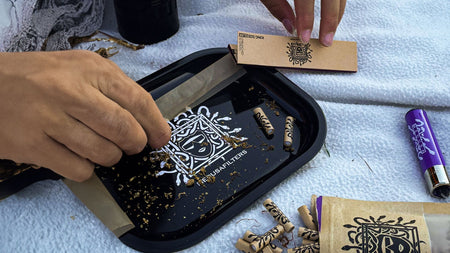
Schritt 3: Den Filter vorbereiten
Nimm einfach eine Visitenkarte oder einen Tipblock um dir einen durchlässigen Tipfilter zu bauen, hierzu musst du Kartonpapier lediglich ein paar mal falten, um eine Papprolle mit innenliegendem "M" zu erhalten. Solltest du diesen jedoch ungleichmäßig gedreht haben, kann es später sein, dass er herausfällt. Noch besser deswegen: Verwende einen Aktivkohlefilter entsprechend der Größe deines Joints. Bei Kingsize Papes empfehlen wir einen dünnen Durchmesser von 6 mm, um später eine schöne Trichterform zu erhalten und ein Herausrutschen zu vermeiden.
Schritt 4: Das Weed und den Filter in das Blättchen geben
Wie man das zerkleinerte Marihuana und den Filter am besten positioniert:
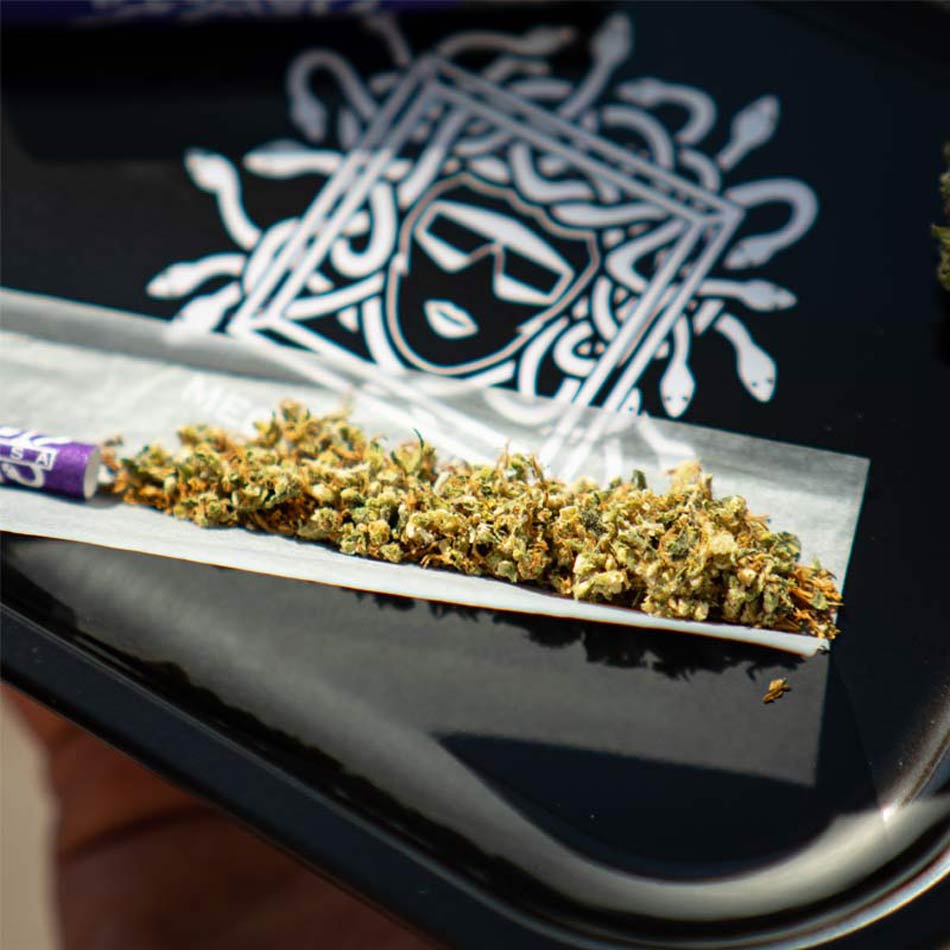
Für eine optimale Positionierung von Weed und Filter beim Rollen sollte man einige Schritte beachten. Der erste Schritt besteht darin, das Weed gleichmäßig auf dem Rolling Paper zu verteilen. Dies sorgt dafür, dass es beim Abbrennen keine unerwünschten "Canoeing"-Effekte gibt, also dass eine Seite des Joints schneller abbrennt als die andere. Den Filter positioniert man idealerweise am einen Ende des Blatts, je nachdem wie du rollen willst, rechts oder links. Achte darauf, dass der Filter sicher sitzt und nicht herausfällt beim Aufnehmen. Du kannst den Filter auch in eine kleine Falte des Papiers einlegen, um sicherzugehen, dass er an Ort und Stelle bleibt. Zum Schluss sollte die Klebeseite oben liegen, damit du sie im weiteren Verlauf leicht befeuchten und den Joint drehen kannst. Mit etwas Übung wird diese Routine zum Kinderspiel und sorgt für ein perfektes Raucherlebnis.
Schritt 5: Den perfekten Joint dreht man so
Das Rollen eines perfekten Joints ist eine Kunst, die jedoch beherrschbar ist. Nimm dafür dein gefülltes Pape auf und beginne das Papier so um die Mischung herumzudrehen bis sie eine wurstähnliche Form annimmt. Sei dabei besonders vorsichtig, damit er nicht reißt. Nimm hierzu am besten deine Zeigefinger und Daumen.
Tipp: Feuchtest du deine Finger vorher etwas an, hast du mehr Grip und tust dich beim Rollen wesentlich leichter (Benutze hierfür deinen Speichel).
Achte auch darauf, dass du gleichmäßigen Druck ausübst, um eine konstante Dicke deines Joints zu erzielen. Eine Hand am Filter, die andere direkt am Pape, so hast du ein gutes Gefühl dafür wie dick er sein darf und kannst deinen Druck entsprechend anpassen. Halte das Pape dabei dauerhaft unter Spannung. Das sorgt später vor allem dafür, dass dein Joint konstant abbrennt. Druck bestimmt, ob du eine Kerze oder einen Zylinder baust.
Zugegeben erfordert es etwas Übung den perfekten Joint rollen zu können, also keine Sorge, wenn deine ersten Versuche schiefgehen. Nur nicht aufgeben, Champ - der Himmel erwartet dich!

Schritt 6: So leckst und klebst du deinen Joint richtig zu
Wenn du deinen Joint erfolgreich gerollt hast, kommt der vielleicht wichtigste Schritt: das ordnungsgemäße Verschließen, damit der Joint gut zusammenhält und ein optimales Raucherlebnis garantiert. Zunächst wird das offene Ende des Joints, wo sich der Klebestreifen befindet, leicht befeuchtet. Das geschieht am einfachsten, indem du mit deiner Zunge darüber leckst. Wichtig hierbei ist, dass du nicht zu viel Spucke verwendest, da der Klebestreifen ansonsten seine Funktion verliert und der Joint auseinanderfallen könnte. Nachdem du deinen Joint befeuchtet hast, muss der Klebestreifen sorgfältig eingedreht werden. Hierbei ist es wichtig, dass der Klebestreifen gleichmäßig und fest angepresst wird, um eine perfekte Abdichtung zu gewährleisten. Schließlich wird der Joint fest zusammengepresst, um sicherzustellen, dass er gut zusammenhält und bereit zum Rauchen ist. Achte auch hier wieder darauf, die Spannung im Pape während des gesamten Prozesses nicht zu verlieren, ansonsten läufst du Gefahr den Filter zu verlieren.
Schritt 7: Stopfen und schließen
Nimm dir hierfür das herausnehmbare Rädchen eines Bong Feuerzeugs oder die Miene eines Stifts und führe ihn in die Öffnung ein. Baue etwas Druck auf und presse deine Mischung fest, sodass beim Herumdrehen nichts mehr herausfallen kann. Verdrehe im Anschluss das übrig gebliebene Pape, um deinen Joint auch transportfähig zu machen. Tada!! Du bist bereit für den jetzt aber wirklich letzten Schritt.
Bonusschritt: Genuss (pur)
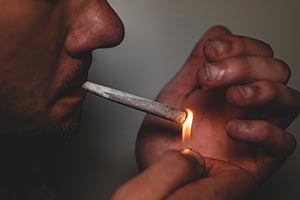
Joint gleichmäßig anzünden und in bester Umgebung genießen.
Häufig gestellte Fragen zum richtigen Joint drehen
Um den perfekten Joint zu drehen, benötigen Sie mehrere Grundzutaten und Werkzeuge. Dazu gehören Drehpapier, ein Grinder zum Zerkleinern des Cannabis Buds, Aktivkohlefilter und natürlich Cannabis Buds selbst. Sie benötigen auch ein Feuerzeug, um den Joint anzuzünden und genießen zu können.
Ein Grinder ist sehr wichtig, weil er hilft das Weed zu zerkleinern. Das Zerkleinern der Knospen erhöht die Oberfläche des Weeds, was zu besserer Verbrennung, einer höheren Wirkung und gleichmäßigerem Rauch führt.
Nachdem das Weed zerkleinert ist und der Filter vorbereitet ist, sollten Sie das Weed und Filter in Blättchen geben. Stellen Sie sicher, dass das Weed gleichmäßig über das Blättchen verteilt ist und der Filter am Rand des Papiers abschließt. Dann können Sie mit dem nächsten Schritt fortfahren, dem zudrehen.
Das Zudrehen des Joints erfordert etwas Geschick. Sie sollten das Drehpapier in der Mitte zu einer kleinen Mulde falten und das zerkleinerte Weed einfüllen. Dann falten Sie das Papier um das Weed herum und rollen es fest auf, bevor Sie den Klebestreifen anfeuchten und den Joint zukleben.